A while back I trained with a private baseball instructor and he was showing me a couple of virtual reality baseball drills he had on his Oculus 2. I tried it that one time and thought it was cool, but I didn’t think about it again until a few years later. I decided to give WIN Reality a try, but I couldn’t find a lot of information online about what to expect when signing up.
So I decided to sign up for WIN Reality and write this article to help other people answer the same question I initially had, which was how to get win reality on oculus quest 2.
To get WIN Reality on Oculus Quest 2, download WIN Reality from the Meta Quest Store, create a profile, and purchase a WIN Reality membership.
However, the answer above is just a high-level overview. Let’s look at the 6 steps required to get WIN Reality on Oculus Quest 2.
If you’re interested in what it’s like to train with WIN Reality, make sure you first read this WIN Reality Review: A Baseball Player’s Assessment.
Article Contents
Step 1: Download WIN Reality in the Meta Quest Store
The first step to getting WIN Reality on your Oculus Quest 2 is to put on your Oculus headset and head towards the Meta Quest Store.
Search for the phrase “WIN Reality”. The app that you want should be the first one that pops up.

WIN Reality is free to download so click the button to begin your download.
Step 2: Open WIN Reality and Create Your Profile
After WIN Reality has been installed, open up the app.

If you previously had an account with WIN Reality (either from using WIN Reality in the past or you created a free account on their website) you should be able to input your credentials and sign in. Otherwise, click the “Create Account” button to begin creating your account.

You’ll need to input your first name, last name, email address, username, a password, and answer the two questions about when and where you heard about WIN Reality.
After you accept their Terms and Conditions and click on the “Next” button, you’ll be directed to a page that prompts you to select a membership. This is as far as you can make it in WIN Reality before you’re required to pay to continue.

If you already have payment info set up on your Oculus, you should be able to select a membership type, pay, and start using WIN Reality. Otherwise, you’ll need to continue to the next step in this article.
Step 3: Use Your Computer to Log In And Complete Your Profile
Before you can use WIN Reality, you’ll need to pay for a membership. So if you’re not paying for a WIN Reality membership through your Meta Quest account, you’ll need to use your computer to log into WIN Reality.
After you log in for the very first time, WIN Reality will ask you to complete your basic profile. You can usually set up 3 profiles under one email address and this will be your first profile that WIN Reality will use to track your progress.
Step 4: Verify Your Email Address
After you’ve completed your first profile, WIN Reality will prompt you to verify your email address. Click the button to verify your email address and you’ll receive a confirmation email within a few minutes. Open up that email and click on the link inside that email to verify your email address.
Honestly, I’m not 100% sure this step is required. I was still able to navigate around the website without verifying my email address, but most apps will require you to verify your email address before you can begin. So my best guess is that you’d need to verify your email address at some point before you can do any drills.
Step 5: Purchase a Membership
WIN Reality offers two types of memberships – monthly and yearly.
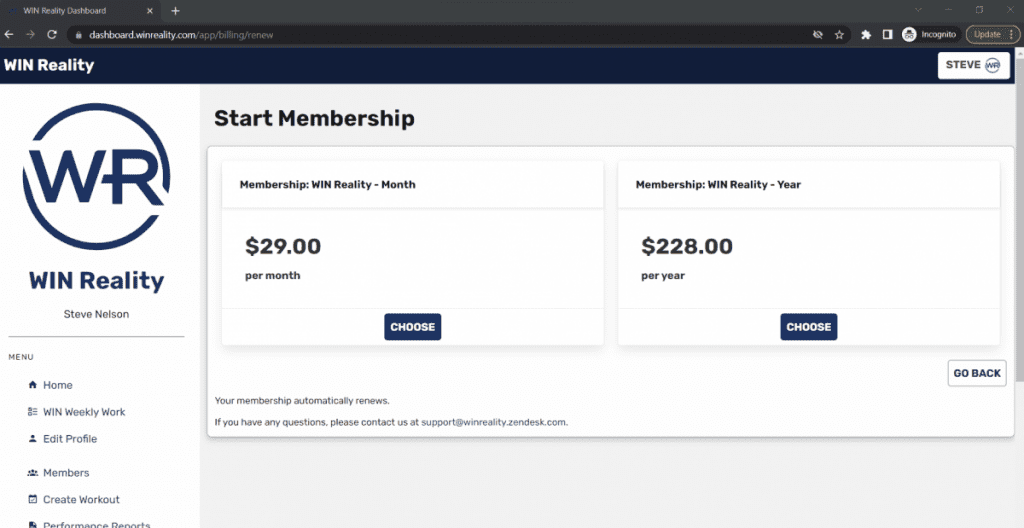
When comparing the two types of WIN Reality memberships over a time frame of one year, the yearly membership is generally cheaper than the monthly membership.
There doesn’t seem to be a specific benefit to signing up for one type of membership over the other. It looks like the main difference is simply the length of your membership and the price.
Select the type of membership that works best for you and make your payment.
Step 6: Enjoy WIN Reality!
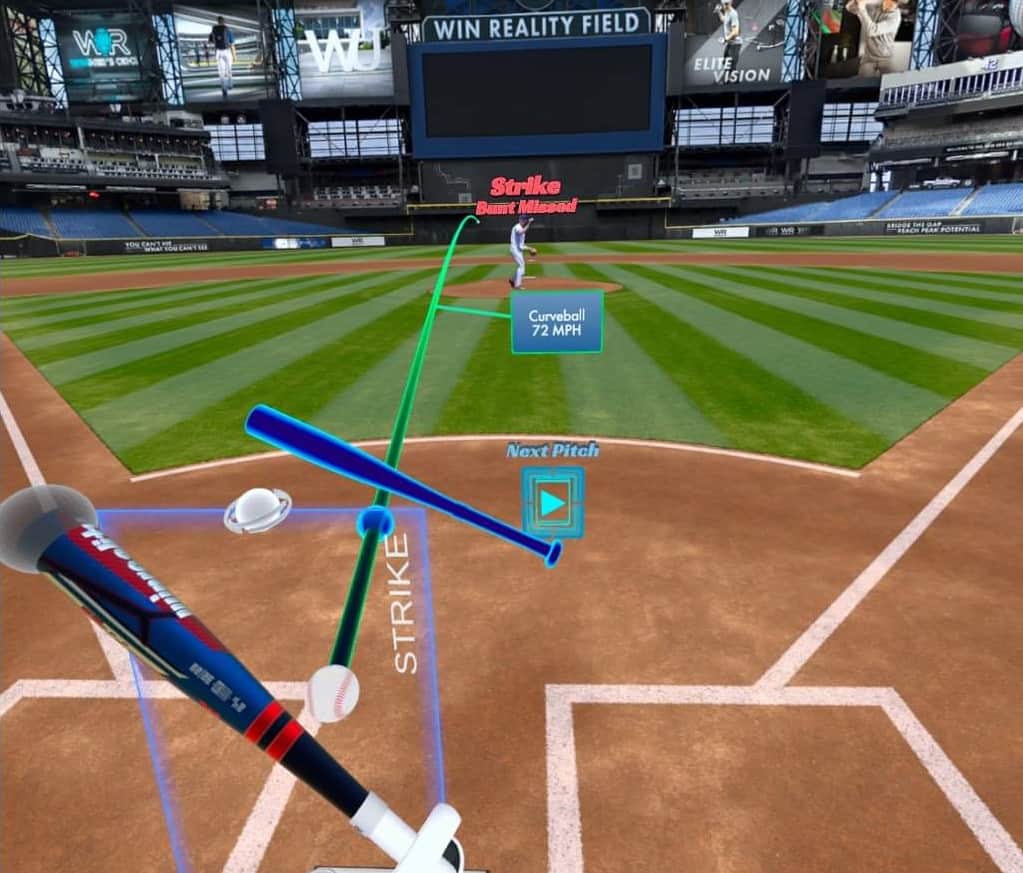
That’s it! Now all that is left is for you to open up WIN Reality within your Oculus Quest 2 and select the type of drill you want to do first.

Also, keep an eye out for your first “Workout” program to appear. This shows up under your “Workouts” tab and it is an introduction to WIN Reality that walks you through the basics of what to expect.
3 thoughts on “6 Steps to Getting Started With WIN Reality on Oculus Quest 2”
Comments are closed.